5 Handy Ways To Use An Inspection Camera Around The Home And Garage
DIY home repair skills are getting more valuable by the day. And that's mostly because being able to identify minor issues in your home and fix them without calling a handyman saves you money, builds your experience, and can be genuinely satisfying. But here's the thing: a successful DIY repair often depends less on how handy you are and more on whether you can diagnose the problem correctly in the first place. However, diagnosis gets tricky when the issue is hiding somewhere you can't see.
Let's take a clogged drain or a mysterious rattle in your car as examples. You can't always tell what the main issue is just by looking from the outside. The exact problem spot is often buried inside a pipe, tucked behind a panel, or lodged in a tight cavity you can't access without taking things apart. This is where having the right essential items in your home tool kit makes all the difference, and one tool that's become increasingly useful for home diagnostics is the inspection camera.
Also called a borescope or snake camera, it's basically a flexible probe with a tiny camera at the tip, connected to a handheld screen or your phone. So, when you feed it into a tight opening, you get a live view of what's happening inside. This essentially helps you pinpoint blockages, spot leaks, check for damage, or even recover items that may have slipped into gaps or vents. Now that you understand how they work, here are five practical ways to use them around your home and garage.
Finding clogs in your drains and pipes
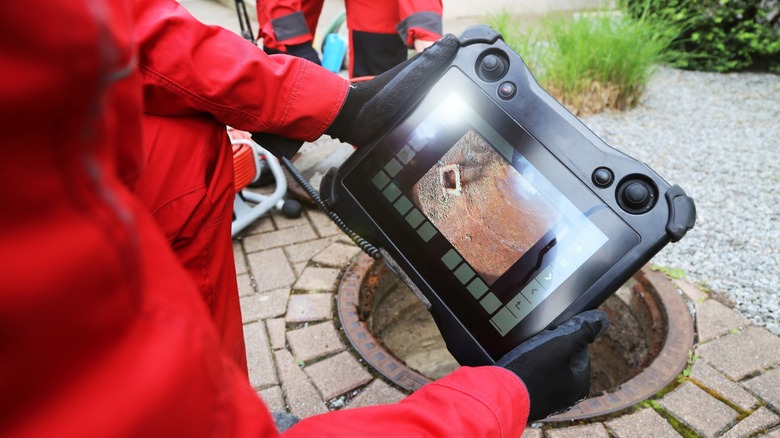
If you're dealing with a clogged pipe or drain, an inspection camera can show you exactly what's causing the blockage. But you have to choose the right one. And choosing the right one often comes down to the camera head. Camera heads come in different diameters, and one that's too large simply won't fit into smaller pipes. You'll also want a cable long enough to reach past the trap and into the horizontal runs where clogs typically form. For most fixture drains, 50 to 100 feet is usually enough. The cable should also be flexible enough to navigate bends without buckling when you push it forward.
Additionally, since drains are harsh environments with water, chemicals, and debris, look for a waterproof model rated for submersion. Before you begin, however, enable your camera's recording feature if it has one. Diagnosing from footage you can pause and review is easier than catching everything in real time, and you'll have documentation to show a plumber if it comes to that. When you're ready, start by locating the most accessible drain opening. That could be a cleanout fitting or the drain itself.
Insert the camera and feed it slowly, keeping the cable straight and watching the screen as you go. A straight cable gives you a clearer, more stable image and is less likely to snag. When you hit resistance, don't force the camera through. Otherwise, you risk damaging it or pushing the clog deeper. What you should do instead is pause, note what you're seeing, and decide whether you can clear the obstruction yourself or need to call in help.
Inspecting your HVAC ducts and vents

When your air conditioning starts rattling or making strange noises, it could be a loose vent, debris in the duct, or something near the blower. Over time, debris builds up in the form of dust, dirt, and even construction scraps like screws or nails that accidentally get left behind during installation. An inspection camera can help you see what's causing the noise.
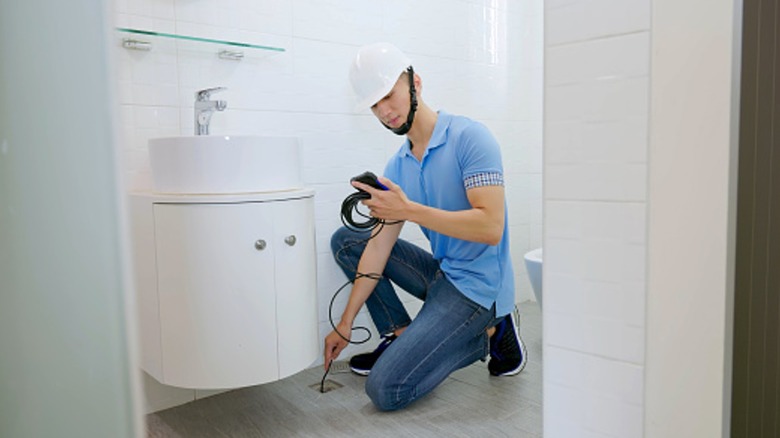
When you do decide to check, turn off your HVAC system completely and put on protective gloves. Then, use the vent or supply register to reach the ductwork behind it. When choosing an inspection camera, it helps to select one with adjustable LED lights, because ducts are dark and dusty, and you won't see much without them. Feed the camera in slowly while watching the screen as you go. Look for dust buildup on the walls, standing water, mold, visible gaps, or holes where air might be escaping. Don't forget to document what you find.
Once you know what you're dealing with, you can decide on what to do next. If it's a small piece of debris near the opening, you can try to clean it out yourself. However, if the issue is mold, pest infestations, or structural damage, call for professional help. The upside is that you'll know exactly what to ask for, which means you can get quotes based on specific issues rather than paying for a general service consultation that may or may not address the real problem.
Checking your roof and attic
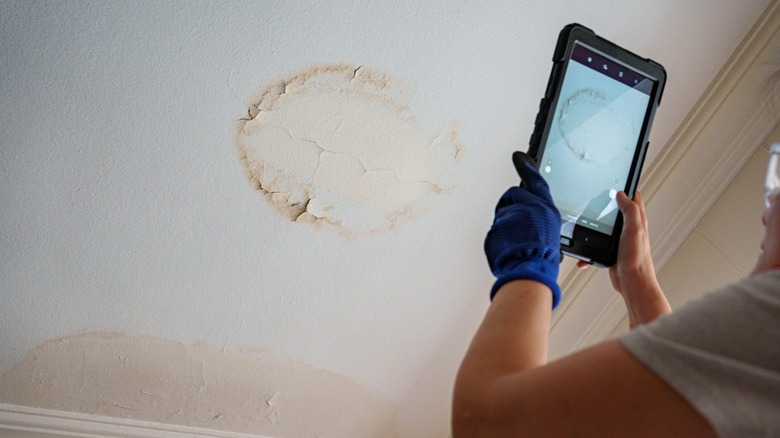
While your HVAC system tends to remind you when something's wrong, your attic is easy to forget about entirely. Most homeowners haven't been up there in years, and that's why problems go unnoticed until they become expensive. Damaged insulation, pest activity, and slow leaks, for instance, all develop slowly and out of sight. By the time you notice a stain on the ceiling or a musty smell inside the house, you know the repair bill is less likely to be cheap.
But that can be prevented if you occasionally check before things get that far. A good time to do it is before winter or right after a major storm. For attics, insert the camera through the access hatch and scan the space while watching the live feed on your screen. That way you can pay attention to the insulation condition, see if there are dark stainings on wood, damp patches, moldy-looking spots, and signs of pests around corners and tight areas you would not want to squeeze into.
You can also use the camera to inspect the underside of the roof decking from inside the attic, which is much safer than climbing onto the roof if you are not experienced. A self-leveling camera helps here because it keeps the image oriented as you angle the probe. You want to look for water stains, daylight coming through where it shouldn't, or damage around vulnerable areas like the roof penetrations, flashings, and seams. If you just had a storm, record what you find, so you have clear documentation to share with a roofer or your insurer. Even when the weather has been calm, making this a habit can help you catch small issues early and avoid expensive repairs.
Investigating car and engine problems
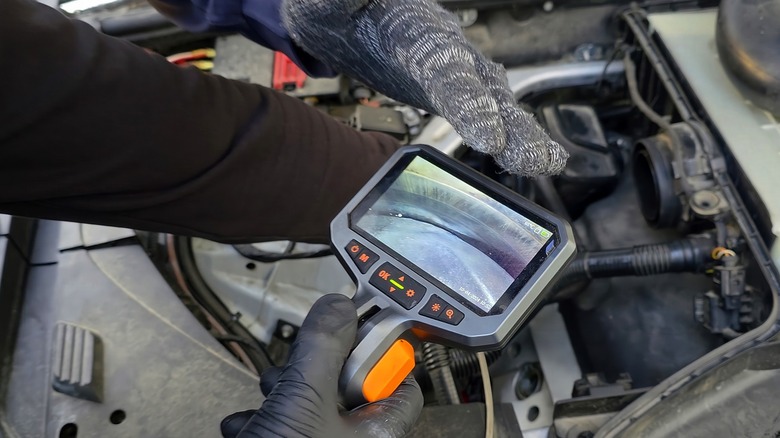
Now, for most of us, when the mechanic says something needs replacing, we usually take their word for it. You can't see inside the engine bay, and even if you could, most components are buried under layers of other parts. With an inspection camera, though, you can examine cylinder bores, fuel injection systems, exhaust components, and other spots deep in the engine bay without taking anything apart. And you approach this in pretty much the same way as other inspections we've covered: move slowly, and record anything unusual.
What's different here are the entry points and what you're looking for. For automotive work, a smaller diameter probe, around 5 mm to 6 mm, will fit through most access points without issue. The access point could be the oil filler hole, spark plug port, or intake opening. But before inserting the camera, make sure the vehicle is off, the ignition key is removed, and the area around the entry point is clean, so you don't push debris further in. Also, make sure the engine is cool before you start, as inserting a camera into a hot engine can damage the probe. But most of these devices are designed to withstand heat.
Overall, if you've ever wondered whether a mechanic's diagnosis was accurate, this is a clever way to verify before you commit. You can see the damage yourself, compare it to what you've been told, and decide whether the repair is actually necessary. You can also use the camera after a repair to confirm the work was actually done, and dated footage gives you a record to compare against. Either way, you'll go into that conversation without worrying about your mechanic overcharging you.
Looking for electrical faults
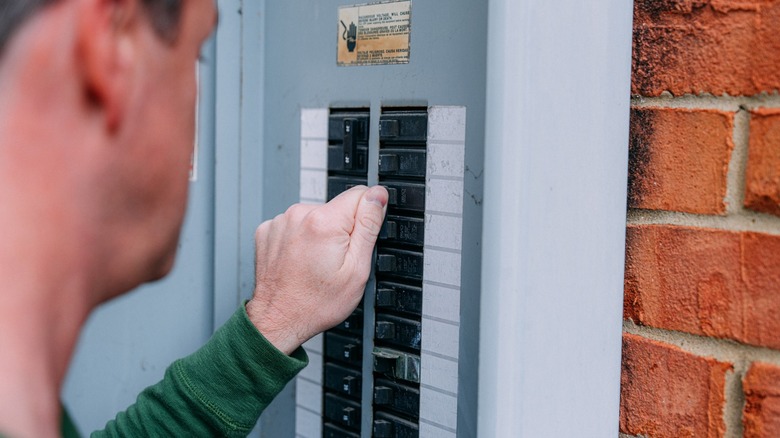
Most of your home's wiring runs hidden inside walls, behind panels, and through conduits, which means problems often stay out of sight until something fails. Some people use a thermal camera to identify hot spots from the outside, but an inspection camera lets you look directly into nearby wall cavities and catch obvious warning signs, like damaged insulation, discoloration from heat, or rodent activity, before they become serious hazards.
For this kind of task, a smaller probe, around 5.5 mm, is easier to guide through tight gaps around outlet and switch boxes. Because you're dealing with electricity, you have to be doubly careful. So before you do anything, make sure you turn off power to the area at the breaker before you start, and even then, limit your inspection to wall cavities near outlets and switches. Do not probe inside your main electrical panel unless you're trained, because some components can remain energized even when breakers are off. You should also wear rubber-soled shoes and avoid standing on damp surfaces or near water.
As the camera moves along, look for brittle or frayed insulation, discoloration that suggests overheating, gnaw marks, or anything that looks melted or burned. Again, take photos or record what you see. Keep in mind, however, that this inspection is for spotting problems. If anything looks concerning, call a professional, share the footage, and let them take it from there. Don't attempt a repair unless you're qualified.